
Getting Start
What are the requirements for the Hello Clever WooCommerce Plugin?
Hello Clever is currently available for WooCommerce merchants with store addresses across Australia.
WordPress Version
-
The WordPress version must be 4.4 or greater to integrate with Hello Clever.
-
You can find the WordPress version in the WordPress Admin Dashboard at the bottom right corner.

WooCommerce Version
-
The WooCommerce version must be 2.6 or greater to integrate with Hello Clever.
-
Navigate to: WordPress Admin > Plugins > Installed Plugins to verify the version.

Store Currency
- Currently, Hello Clever only supports AUD (Australian Dollars) for WooCommerce stores.
Install Plugin
How to install the Hello Clever WooCommerce plugin?
Installation Instructions
-
Navigate to WordPress Admin Dashboard.
-
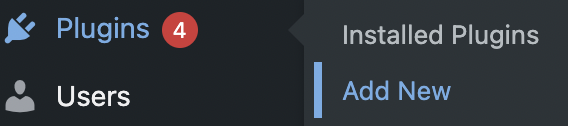
Go to Plugins > Add New.
-
Type Hello Clever in the keyword search box.

-
Locate the Hello Clever Gateway for WooCommerce plugin and click Install Now.
-
After installation, click the Activate button.
Configure Plugin
How to add Hello Clever as a payment method in your store?
Configuration Steps
-
Navigate to WordPress Admin Dashboard.
-
Go to Plugins > Installed Plugins.
-
Find the Hello Clever Gateway for WooCommerce plugin and click Settings.

-
Navigate to the Hello Clever Gateway section.
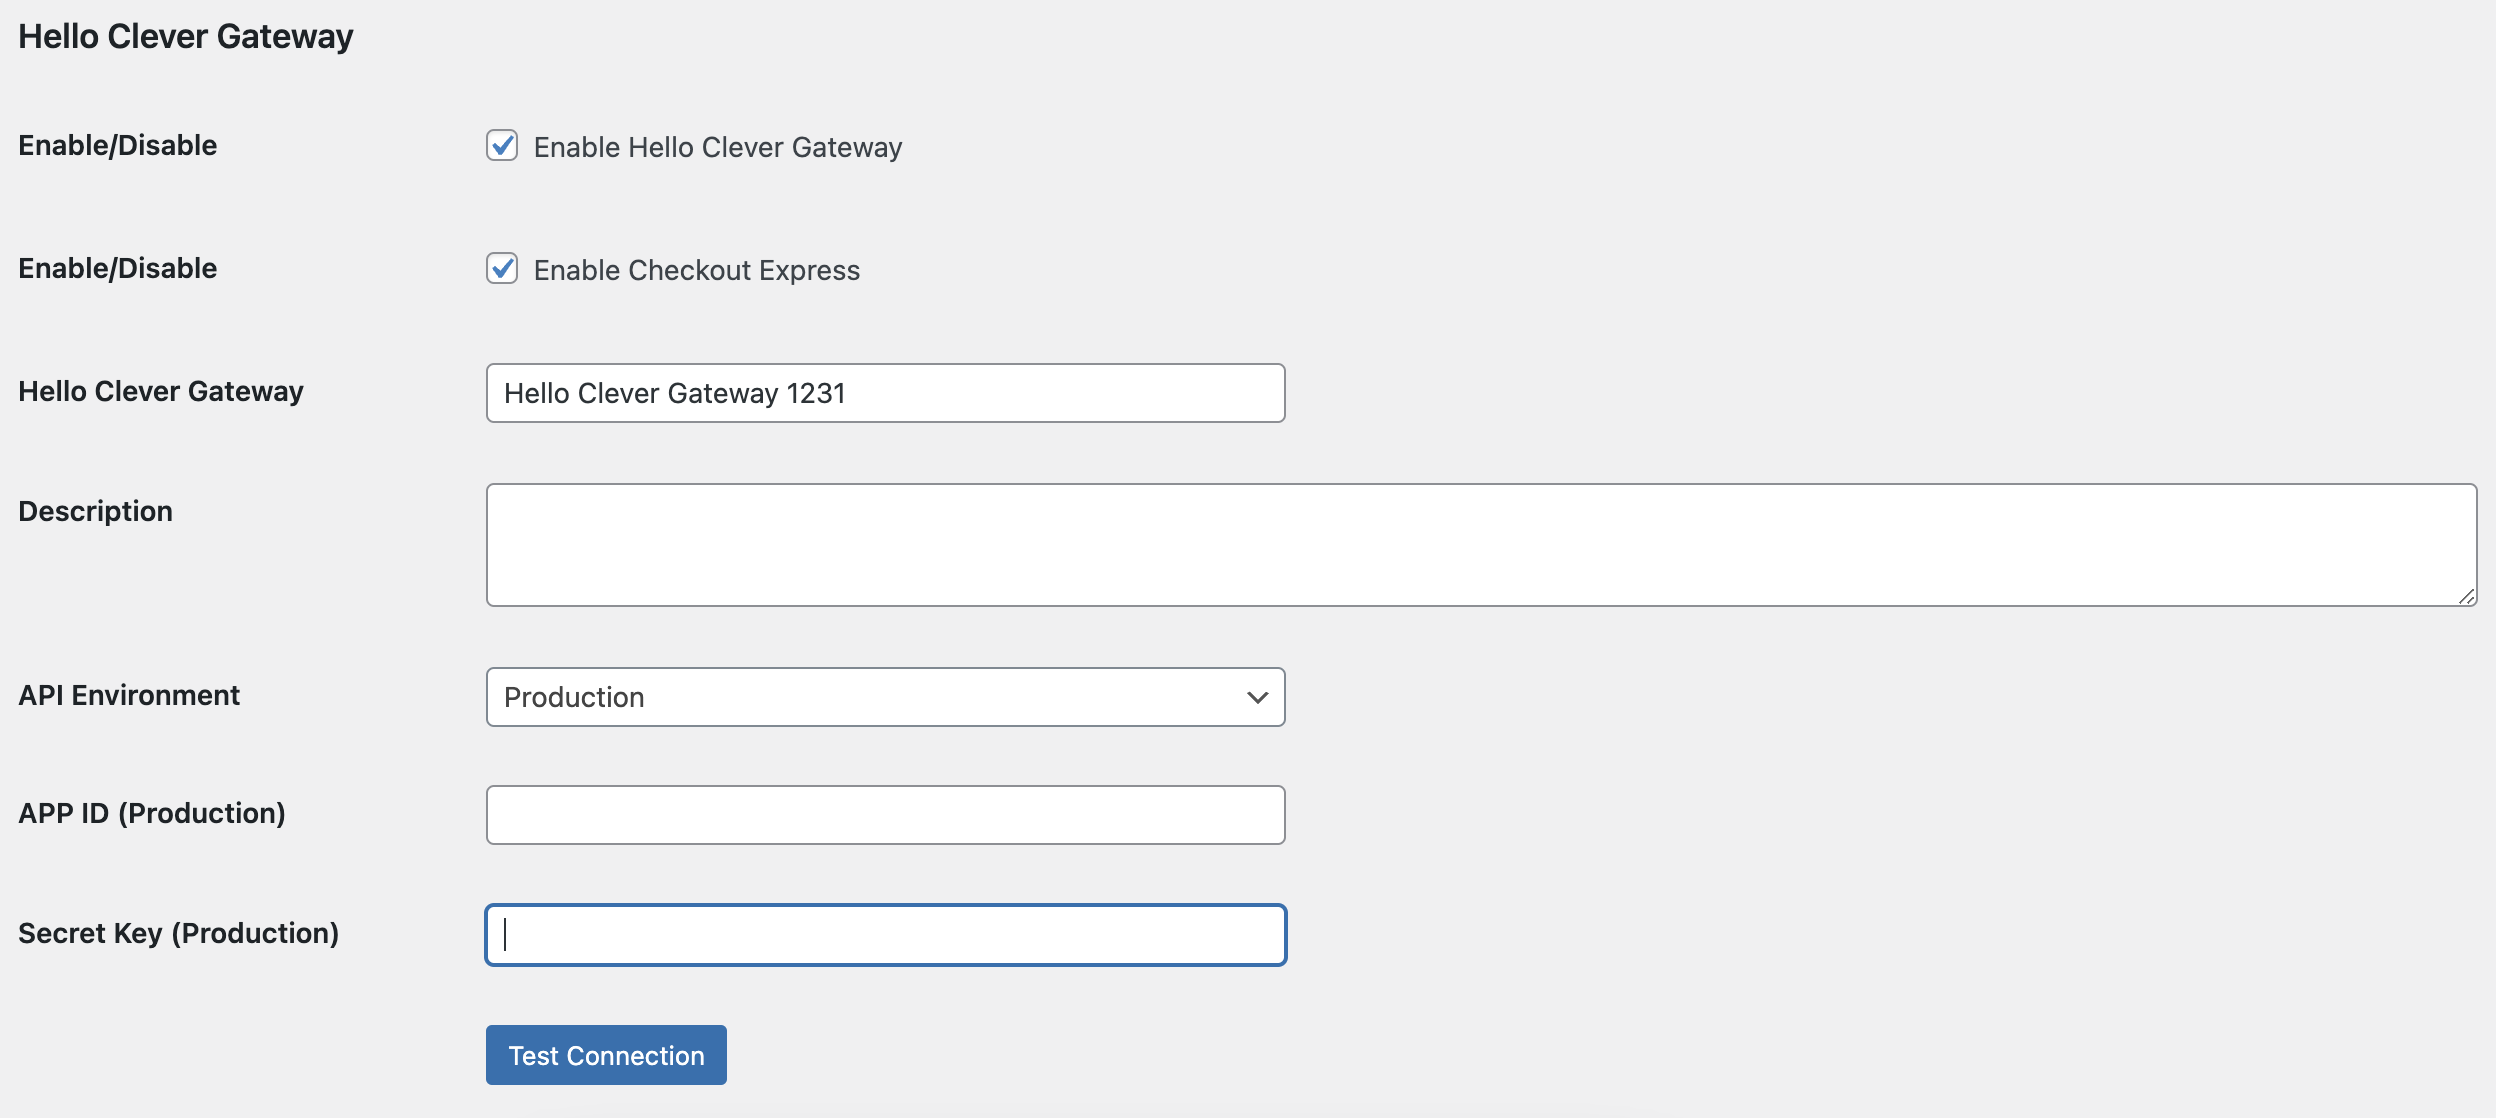
-
Enter the following information:
- APP ID (Production): Provided in the Hello Clever Merchant Portal.
- Secret Key (Production): Provided in the Hello Clever Merchant Portal.

-
(Optional) Set the API Environment to Sandbox for testing purposes.
Notes
- The Sandbox API Environment is only applicable for dedicated test websites. Contact your Hello Clever Account Manager for testing credentials if needed.
- Make sure the APP ID and Secret Key remain confidential to ensure secure integration.
By completing this guide, you will have successfully installed and configured Hello Clever for WooCommerce on your WordPress site.
For more information: https://docs.helloclever.co/category/woocommerce-2